
I decided to write a tutorial to help out a friend who wants to make this as her first quilt (!), and since I was going to do it, I thought I'd share with everyone. These instructions will show you how to make the squares so each square finishes at 10 inches. You can use the same basic tutorial with different dimensions to suit your taste. If you need help figuring out a different block size, just let me know- I'd be more than happy to help!
For a finished quilt that is 80X80, you have 2 options.
#1. Make your blocks finish at 10 inches, then add a border that is 4 inches all of the way around to make your 80X80.
#2. Make your finished block 10.5 inches and have no border on your quilt. (Begin with 9.5 inch background squares and the same 2 inch cross strips, all other information is the same.)
The way the tutorial is written is for option #1. Here goes:
Cut 64 - 9X9inch blocks from your background fabric(s). *this will be the hot pink through the tutorial*
Cut 32 - 2X10inch strips that will make your crosses on the blocks. *these will be black through the tutorial* These can be all the same color, or again, you could mix and match for a more scrappy look.
First you will start by cutting your blocks so they are each 9 inches X 9 inches. Feel free to use the same color for all of your blocks, or use a myriad of colors. Either way will be awesome.


Once you are finished cutting your blocks and strips, you will have to decide where you want your first cross section to go. This is totally up to you. If you want the cross to be directly in the middle of the square, that's fine, cut in half at 4.5 inches. If you want it to be a little off, then cut at 3 inches, or 5 inches. It's up to you. For the following picture, I cut at 3 inches:

**a note on cutting your background blocks, you can absolutely make them all the same by stacking a few blocks together and cutting them all at the same time. Or if you don't want it to be super uniform, you can cut the background pieces at different intervals. Again, this is a personal preference thing, so go with your heart!
Now you get to start sewing! YAY!
So, take half of your background block, and sew your cross strip to it, like so:

Once you sew one side of your cross strip, you'll want to iron it. (to make this process more efficient, you can sew the first side of the cross strip to each of the background blocks, then iron them all when you are done sewing the first side of the cross strip.) When you iron, make sure you iron your seams open. The following photo will show an example of how to do this. I use my finger to finger crease it first, and then use the iron to steam it down.
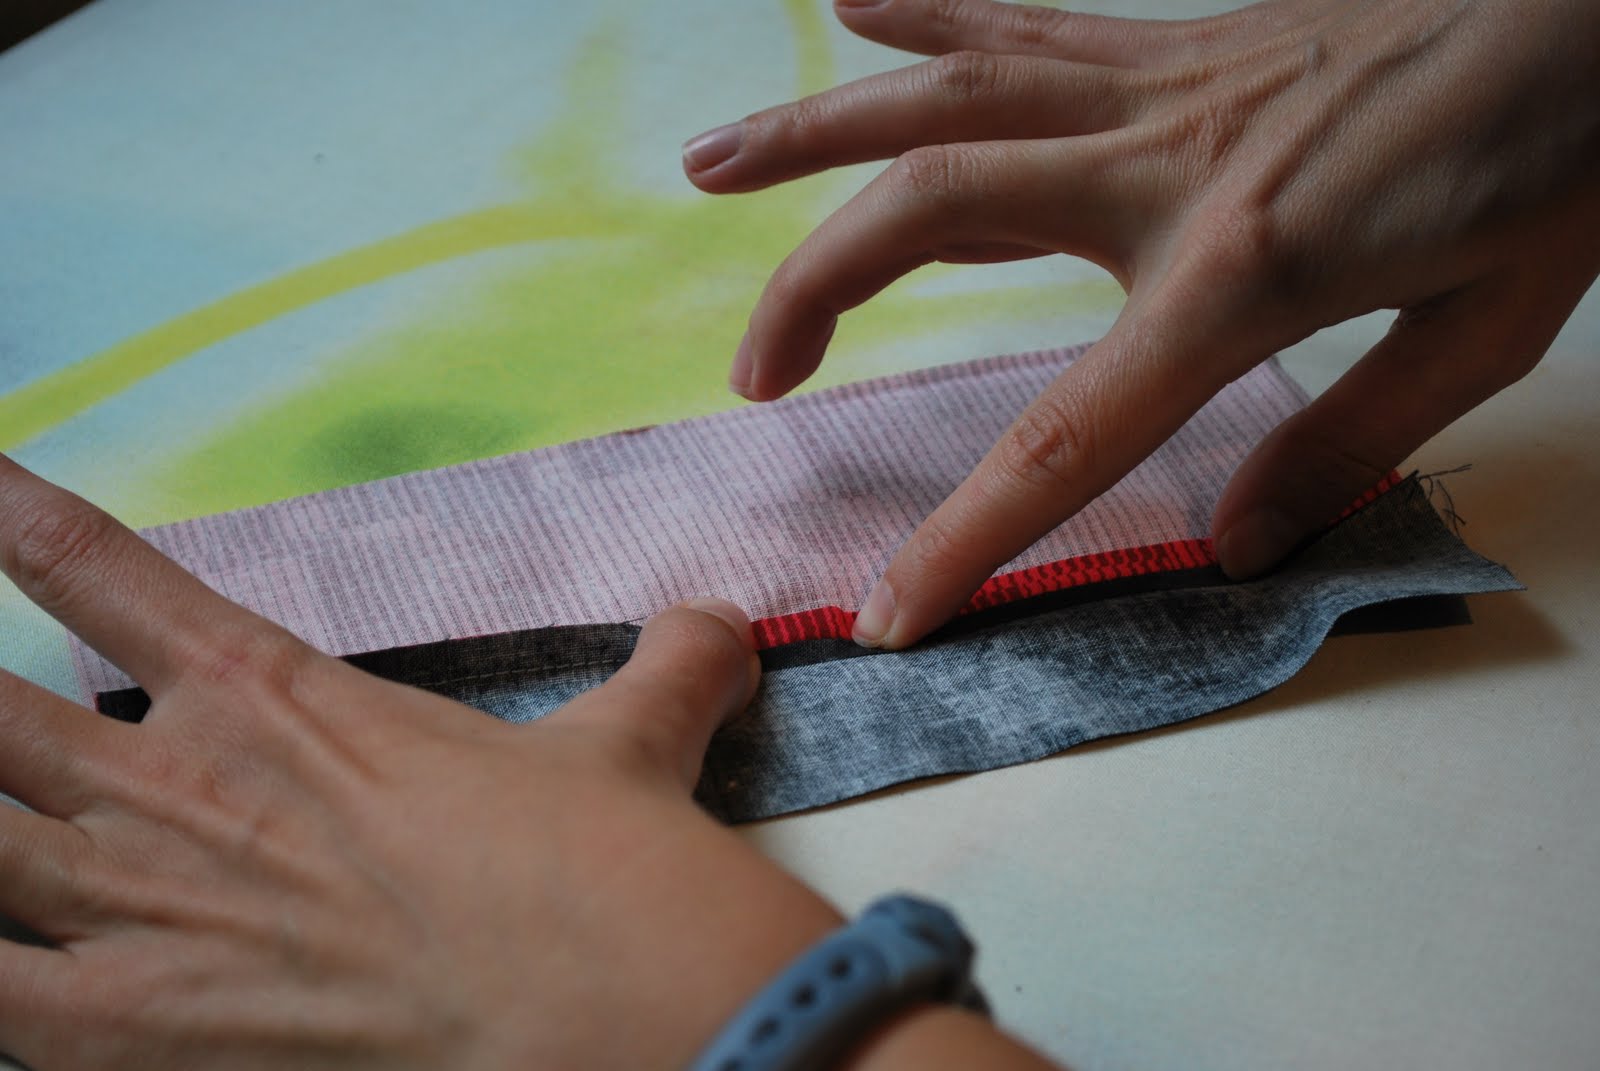

**please excuse my extremely scrawny looking hands. goodness, i need to be in a horror flick. ha!*
Once you are finished ironing the seam open, flip it over and iron the front to ensure it's nice and flat. Your blocks should look like this:

Your next step is to sew the other side of your background block onto the other side of your cross strip. Again, you can sew them all in an assembly line to make the process a LOT faster. Then you'll iron your seams open again.


The next step is another one that is totally up to you. This is where we will make the next cut to create the cross look on your block. You can do it directly in the center, or off-centered. Like I said before, go with your heart...


*I went directly in the middle for this one because I had gone off-centered for the first cross section*
Now, you'll be sewing in the other cross-section. Sew them all to one side of the background, and then you'll be ironing again. Remember to iron the seams open!


This is what your finished block will look like....

When you are finished with all of your block construction, you'll sew them together in rows of 8. You should have 8 rows of 8 blocks when you are done. As you sew your rows together, you'll want to iron the seams all to the right on the first row, then all to the left on the second row, and keep alternating. This will help you a TON when you are trying to line up the blocks in your rows. If you need a visual example of this, again, let me know and I'll write up a tutorial!
Below I just wanted to add a little blurb on how to make your blocks wonky if you like them better this way. All I mean by "wonky" is that one of your cross strips will be sewn in at an angle to keep your block from being straight.
You'll construct the first part of your block the same sewing in the first cross strip straight. You'll want to leave your cross strips a littler longer, so maybe do 11 or 12 inches in length (the exact length will depend on the angle of your second cross strip.) So, your block will look like the following picture when you've finished sewing in the first cross strip and ironing your seams open:

Then you'll take your ruler and decide how angled you'd like your second cross strip to be, it really doesn't matter, it's all up to you- get creative. I just titled the ruler until I liked the look of the angle and cut.

Then you'll sew in the first half of the second cross strip and your block will look like this:

See the overhang of the cross strip in the picture above? You'll want to trim that off before sewing in the other side to ensure you line up the halves correctly. Cut like so:


When you sew the other half onto your block, it'll look like this finished:


This is just another example for color and different cut locations for your cross strips.

*Since this is my first tutorial, please please please let me know if there is anything that does not make sense. I would love your feedback! Also let me know if there is something else you'd like a tutorial for. This was really fun!*
Happy Sewing, Ladies!!